The triangle fever has hit me and after making Triangle Fabric Jewellery I couldn't stop myself from making this fun and really easy Triangle Pincushion. Here's a tutorial so you can make one for yourself!


Here is what you need to make the Triangle Pincushion:
- 4 pieces of different fabric, each one sized at least 3.5" x 4.5". You can use a charm if you like, which is 5"x5". Charms make cutting even quicker;
- 1 piece of fabric for the backing 8"x8";
- Pincushion filling (crushed walnut shells if you want to give some weight to the pincushion and sharpen your pins at the same time!);
- Any embellishment you’d like to use: trims, ribbons, charms, buttons...
Before starting, iron and starch your fabric. Use a lot of starch, it's worth it! Now start cutting your triangles. First cut your fabric to 3.5" in height and then, using the 60 degree lines on your mat cut the sides to make the triangle.
To do this place your piece of fabric with one corner against the 60 degree line and the bottom edge on one of the horizontal lines on the mat. Cut along the 60 degree line and then move the piece of fabric against the 60 degree line on the opposite side, lining up the top point of the triangle and cutting.

Lay out the four triangles in the order you've chosen and then cut off one tip of each triangle, as shown in the photo. This makes it easier to sew the triangles together.
Now sew the bottom three triangles together, lining up the sides. Then sew the top triangle, making sure to centre it on top of the other three triangles.

Press and place the pieced front onto the backing fabric, right sides together. If you want to add trims and ribbons add them now, placing them in between the two fabrics. You can use pins to keep them in place. Now sew around the edge leaving an opening for turning. Make sure you don't lose the tips of your triangles when sewing around the edge (sew exactly on the cross formed by the two sewing lines where you've joined the triangles). Don't leave the opening near where you've placed your ribbons.

Cut off the excess fabric leaving the 1/4" seam allowance. Trim the fabric diagonally around the points to reduce bulk.

Turn right side out, using a chop stick (this is my favourite tool but you can use any other blunt pointed tool) to help you turn the points out. Stuff with your favourite pincushion filling and sew the opening closed.
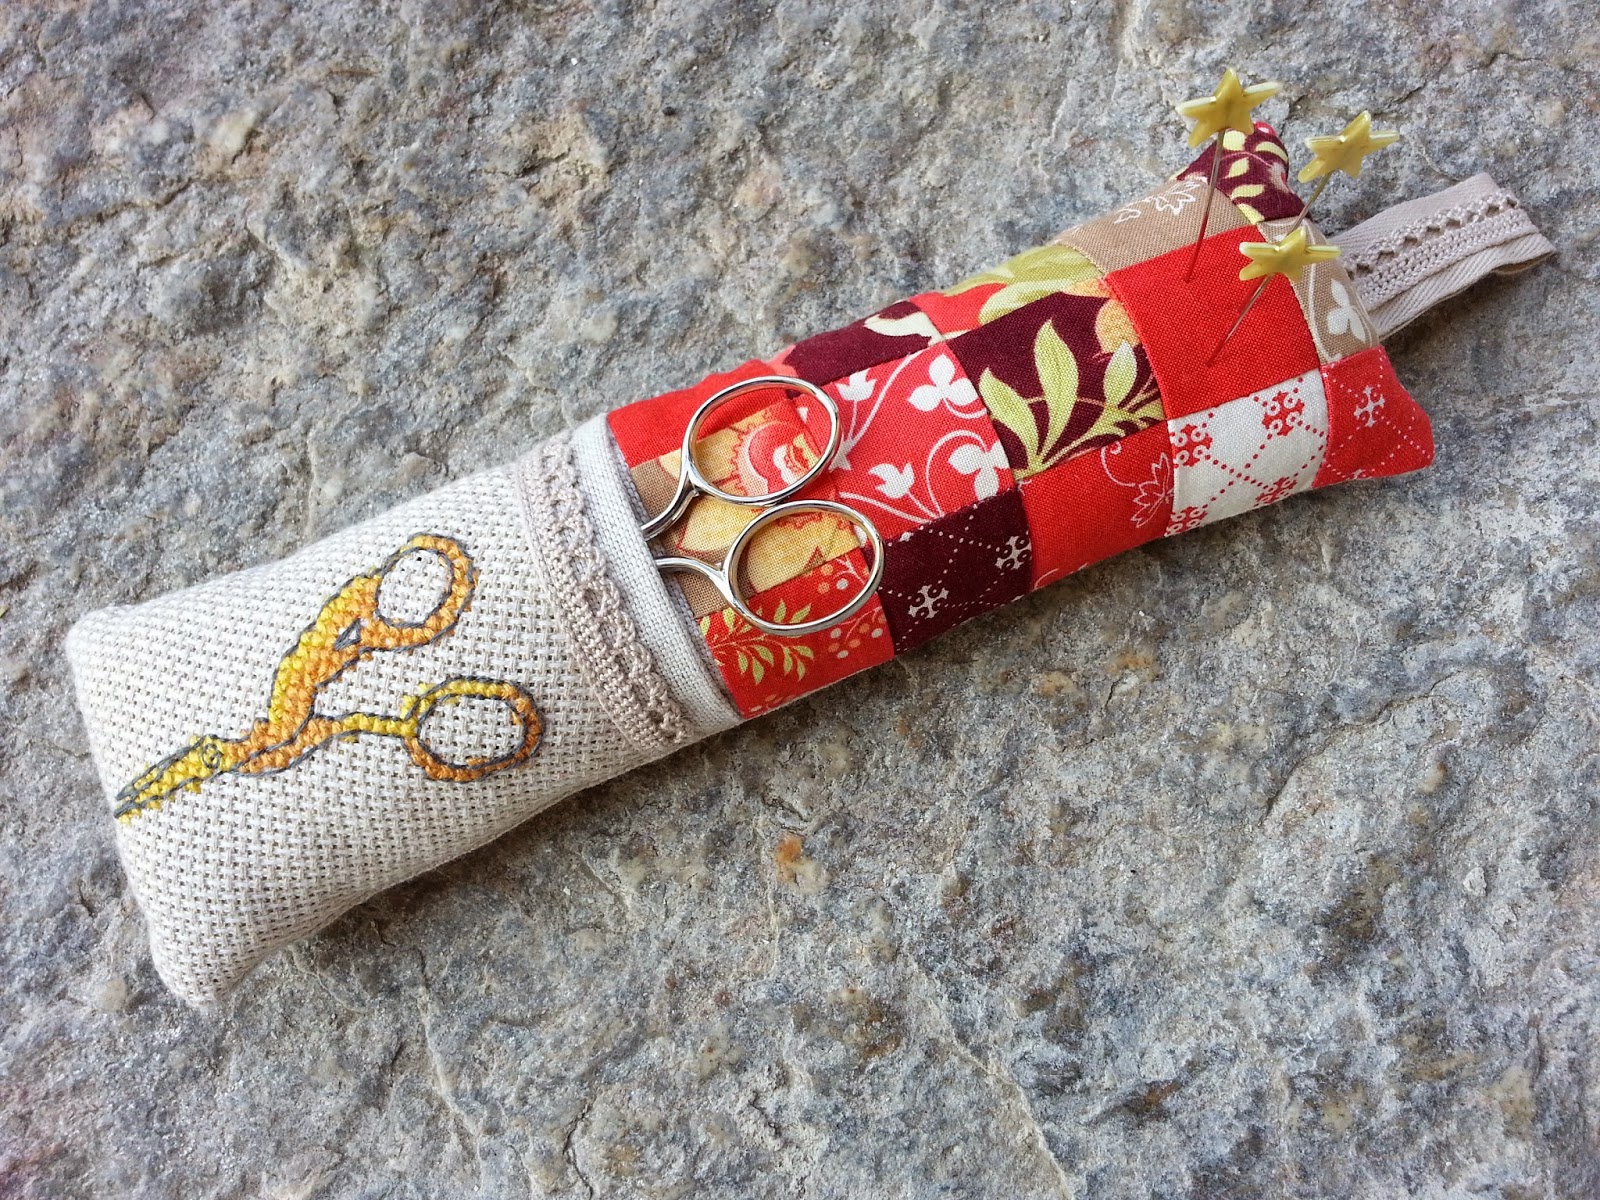
And here it is, your finished Triangle Pincushion!


Wow! Look how precise that triangle point is, I can't believe it myself!

Love it how the backing (Essex Yarn Dyed in Black) blends in with the stone! I've been wanting to use that scissor charm for a while and I think it's found the right place now.
I've realised I've been making a few pincushions lately! They are so fun to make and you can experiment with different techniques and shapes:

Would love to see a photo of your Triangle Pincushion if you make one! I'm definitely going to make another one soon, with lots of pink!
For learning how to use triangles for quilts, you can find some great tutorials at Paula's The Sassy Quilter and at Lorna's Sew Fresh Quilts.

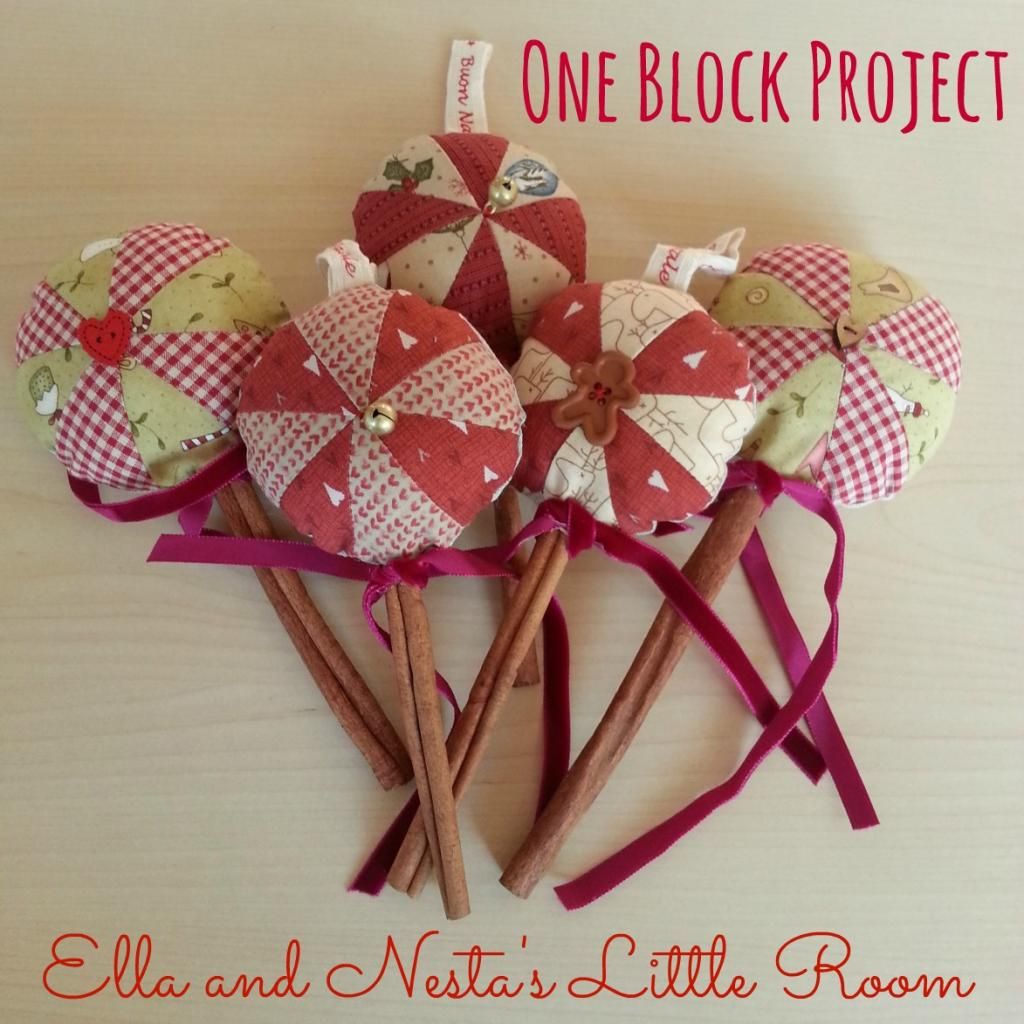
Adding this pincushion to our One Block Project Flickr group. The Project is all about finding fun and useful ways of using single blocks!
:%20Le%20Challenge%20+%20One%20Block%20Project "Pin on Pinterest")

 "Pin on Pinterest")
Very cute.
ReplyDeleteGreat idea! I finished piecing a triangle quilt top at the weekend, and found I had miscalculated and had a few spare triangles...
ReplyDeleteWhat a cute pincushion! Perfectly sweet! Thanks for sharing the tutorial!
ReplyDeletehow fun -- this will be a great use for the leftover triangles that I have from my triangle quilt
ReplyDeletecute, cute, CUTE!! What a unique idea!
ReplyDeleteThank you so much for partying at Needle and Thread Thursday!
:) Kelly @ My Quilt Infatuation
So cute!
ReplyDeleteOh, so cute! Thanks for this great tutorial - a very versatile and useful item, and they would make sweet gifts for Mother's Day. I love the little tags and scissors charm, too!
ReplyDeleteCute pincushions! I really love pincushions, and have lots of them.
ReplyDeleteBeautiful, Thanks for the tutorial. Cute !!!
ReplyDeleteNeat pincushion and a really clear tutorial !
ReplyDeleteWhat a lovely idea and an extraordinary pincushion. I need a little present for a friend tomorrow - I think I'll try this one :-)
ReplyDeleteLove your pin cushions! Thanks for sharing at the party. Theresa @DearCreatives
ReplyDeleteLovely Pincushion!
ReplyDeleteMy dear colleague Sandra made a pincushion for me the same evening you posted the tutorial :-) !
ReplyDeleteI love it!!
Such a cute pincushion and an easy to follow tutorial.
ReplyDeleteFeatured today...
DeleteLove It!! I am going to have to make one too :-)
ReplyDelete